Overview of GE Universal Remote
The GE Universal Remote controls up to seven devices—TV, DVD, cable, satellite, audio—using one remote. Its layout features power, volume, channel, and a programmable button for quick access. This manual covers setup, programming, and troubleshooting for all major brandsand also.

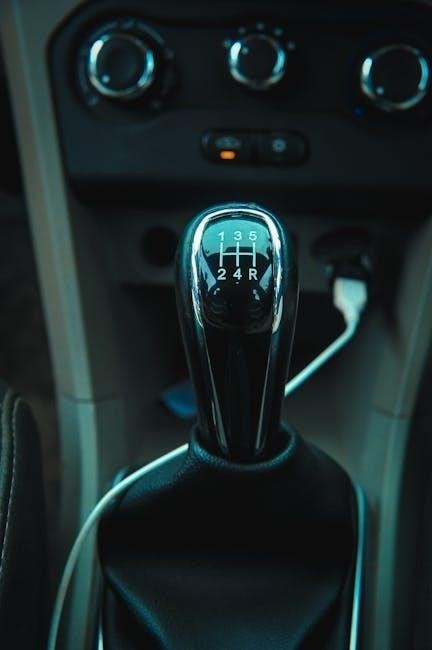
1.1 Remote Features and Layout
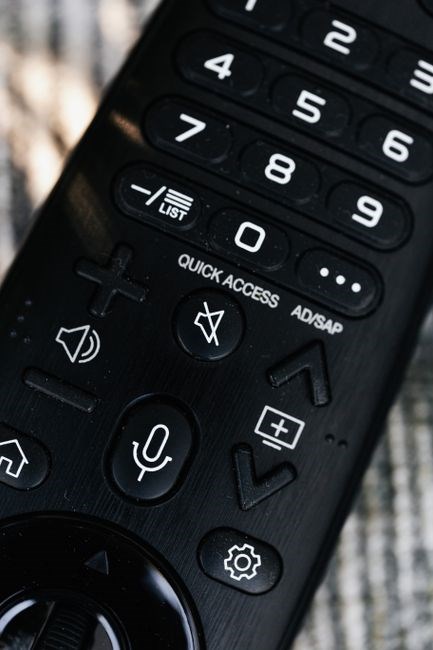
The GE Universal Remote features a compact, ergonomic design with a clear front panel layout. At the top center sits a large power button, followed by a row of volume controls (volume up, mute, volume down) and a channel navigation row (channel up, channel down, channel list). Below these, a dedicated “Program” button allows quick addition or removal of devices. The remote supports up to seven programmable devices, each assigned to a numbered button (1‑7) for instant access, with a small LED indicator lighting when the device is active. The side panel includes a “Back” button for navigation, a “Menu” button for on‑screen menus, and a “Return” button to go back to the previous screen. The bottom row contains a “Help” button that displays a quick reference guide on the TV screen, and a “Settings” button for adjusting remote preferences. The remote’s firmware supports a wide range of audio‑visual devices, including TVs, DVD players, cable boxes, satellite receivers, and sound‑bar systems. It also includes a “Smart” mode that automatically detects and syncs with compatible devices when powered on. The user interface is accessible, with large, high‑contrast buttons and a straightforward layout that reduces the learning curve. Overall, the GE Universal Remote combines sleek design with robust functionality, providing a convenient solution for managing multiple entertainment devices from a single remote. Its intuitive interface and quick‑programming feature make it ideal for users who want seamless control of multiple remotes!!

Compatibility & Supported Devices
GE Universal Remote supports TVs, DVD players, cable, satellite, and audio devices from brands like Samsung, Sony, LG, Panasonic. It can program up to seven devices, offering access via numbered buttons. Compatibility extends to most standard IR protocols, ensuring device coverage!
2.1 Supported Brands and Models
The GE Universal Remote is engineered to work with a broad spectrum of consumer electronics. It supports major television manufacturers such as Samsung, Sony, LG, Panasonic, Philips, Toshiba, Vizio, Sharp, and TCL, covering models from entry‑level sets to high‑definition 4K and HDR units. For DVD and Blu‑ray players, the remote is compatible with brands like Sony, Panasonic, Philips, and RCA, spanning both standard and 4K‑capable players. Cable and satellite receivers from Xfinity, DirecTV, Dish Network, and Sky are also supported, including models with integrated tuners and recorders. Audio systems, including soundbars and AV receivers from Bose, Yamaha, Denon, Onkyo, and Sony, can be programmed, enabling volume and input control. The remote also works with gaming consoles such as Xbox, PlayStation, and Nintendo Switch, as well as streaming devices like Roku, Amazon Fire TV, Apple TV, and Chromecast. For home theater setups, the device can control projectors from Epson, Optoma, and BenQ, and even smart home hubs that use infrared signaling. The extensive code library ensures that most devices purchased between 2010 and 2025 are compatible, making the remote a versatile solution for modern entertainment centers. Examples include Samsung Q60A, Sony XBR‑65X900F, LG OLED55C1; Sony BDV‑E9500, Panasonic DP‑UB700; Xfinity X1, DirecTV HD 1000; Bose SoundTouch 300, Yamaha RX‑V6A; Xbox Series X, PlayStation 5; Roku Ultra, Amazon Fire TV Cube; Epson Home Cinema 5050UB; Logitech Harmony Hub. Compatible with most devices, including newer models up to 2024, ensuring long‑term usability.
2.2 Device Limitations and Known Issues

While the GE Universal Remote offers broad compatibility, certain devices exhibit limitations. Some newer 4K HDR TVs (e.g., Samsung QN90A, LG G1) may not fully support power‑on/off or mute functions due to firmware restrictions, requiring manual button use. Bluetooth‑enabled receivers (e.g., Roku Streambar, Amazon Echo Show) do not respond to infrared commands, so the remote cannot control them. Devices that use proprietary infrared protocols, such as certain Sony Bravia models with “Smart‑View” mode, may need a secondary remote for full functionality. The remote’s “auto‑search” feature occasionally fails to lock on to high‑frequency signals from satellite receivers, leading to incomplete programming; manual code entry is recommended in these cases. Users report that the remote’s volume control may not sync with soundbars that use separate audio‑return paths, causing lag. Additionally, the remote’s “multi‑device” mode can only store up to seven devices; exceeding this limit requires deleting an existing profile. Battery life is limited to about 12 months with standard AA batteries; using rechargeable NiMH can extend usage but may reduce signal strength. Finally, the remote’s infrared emitter can be obstructed by thick walls or reflective surfaces, causing intermittent signal loss. These issues are documented in the official GE support FAQ and can be mitigated with proper placement and firmware updates where available.
In addition, certain older VCRs (e.g., Sony DCR‑Z215) require a “slow‑scan” mode that the remote cannot toggle, resulting in playback errors. Some cable modems with integrated tuners (e.g., Comcast Xfinity X1) ignore the remote’s “channel‑up/down” commands when the device is in “HDMI‑CEC” mode, necessitating manual channel changes; The remote’s “mute” button may not work on devices that use a separate mute channel, such as the Panasonic DMP‑H1. Users have noted that the remote’s “power” button fails to wake devices from deep sleep on certain models (e.g., LG OLED55C1) unless the device’s “wake‑on‑IR” feature is enabled in the settings menu. Finally, the remote’s “sleep” timer does not function with devices that have their own power‑down schedules, leading to conflicting power states.
These limitations are listed in the GE support database and can be addressed by updating the device firmware or using a dedicated remote.

Setup: Batteries & Basic Operation
Insert two CR2032 batteries into the compartment. Press the power button to test. Use the remote’s dedicated buttons for volume, channel, and power. The “Setup” button enters programming mode. Follow on‑screen prompts to assign devices. Press reset if remote fails immediately!?
3.1 Recommended Batteries and Replacement Steps
The GE Universal Remote is powered by two CR2032 lithium coin cells, which provide a stable 3 V output and last up to 2 years. The battery compartment is on the back, behind a sliding cover. Replace the batteries as follows:
- Slide the cover out and remove the old cells, noting polarity.
- Insert new CR2032s with the positive side facing inside.
- Replace the cover and press it until it clicks.
- Press the power button to verify the remote powers on.
If the remote remains unresponsive, double‑check the battery orientation and ensure the cover is fully secured. Clean corroded contacts with a cotton swab and rubbing alcohol to restore reliable operation.
Proper battery management can extend the life of your remote and prevent unexpected power loss. When the LED indicator shows a low‑battery warning, replace the cells immediately; lingering low voltage can damage the remote’s internal components. Store spare batteries in a cool, dry place and avoid exposing them to extreme temperatures, which can cause leakage. If you notice any corrosion on the contacts, wipe them gently with a cotton swab dampened with a small amount of isopropyl alcohol; dry thoroughly before reinserting the batteries. For users who travel frequently, consider carrying a spare battery pack or a small battery charger compatible with CR2032 cells. Finally, keep the remote’s firmware up to date to improve battery efficiency. This ensures reliable operation during long viewing sessions daily!
3.2 Power On/Off and Basic Button Functions
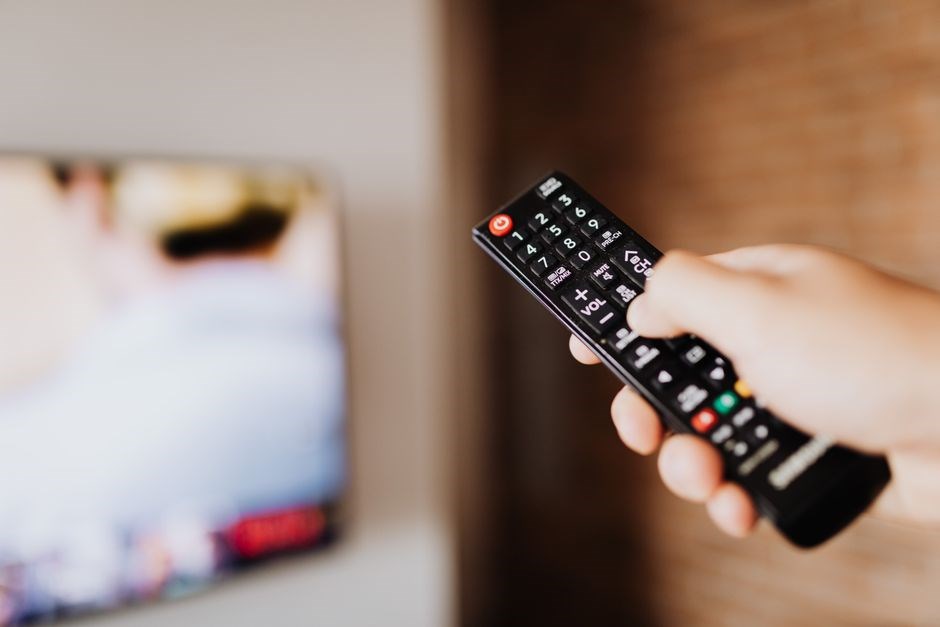
The GE Universal Remote uses a single power button located on the front‑right side. Press and hold for 2 seconds to power on the connected device; a brief LED flash confirms activation. To turn off, press the same button again for 2 seconds; the LED will dim and the device will power down. If the remote is paired with multiple devices, the power button cycles through last used device, allowing quick switching without re‑programming.
Basic navigation is handled by the arrow keys: up/down adjust volume, left/right change channels. The Enter key selects the highlighted menu item or confirms a choice. The Menu button opens the device’s on‑screen menu, while Back returns to the previous screen. The Mute button silences audio instantly, and the Sleep button sets a timer for automatic shutdown.
Additional functions include Guide for channel listings, Info for program details, and Source to switch input sources. The remote also supports Picture and Audio presets for quick adjustments. For devices that support HDMI‑CEC, pressing the HDMI‑CEC button will toggle the feature on or off. All buttons provide tactile feedback and a subtle click when pressed, ensuring reliable operation during extended use Enjoy seamless control for all no.

Programming Instructions
Press and hold Setup until the LED blinks. Enter the 4‑digit code, press Enter, then Power. If the device turns on, the code is saved; otherwise, try another code. Repeat until success. Now! OK!!
4.1 Direct Code Entry Method
Begin by pressing and holding the Setup button until the LED blinks twice. This signals the remote is in programming mode. Next, locate the four‑digit code for your device in the GE code list or online database. Enter the code using the numeric keypad. After the last digit, press Enter. If the device powers on, the code has been accepted; the LED will blink once to confirm. If the device does not respond, repeat the process with an alternate code from the list. Once a code is accepted, the remote will automatically store it for future use. To verify, press the device’s dedicated button and confirm the device responds. If it does not, repeat the code entry or try the auto‑search method. This direct entry method is quick and reliable for most compatible brands, including Sony, Panasonic, and Samsung. Remember to keep the remote within 10 inches of the device during programming to ensure a strong signal. After successful programming, you can use the Power, Volume, and Channel buttons to control the device as usual. For devices that require a separate power code, use the Power button to toggle between codes. The remote supports up to seven devices, so you can program multiple sets by repeating the above steps for each device. If you encounter any issues, consult the troubleshooting section for common problems and solutions.
4.2 Auto-Search Programming Method
To use the auto‑search feature, first press and hold the Setup button until the LED blinks twice, indicating programming mode. Then press the button that corresponds to the device you wish to program (e.g., TV, DVD, Cable). The remote will cycle through all known codes, sending one at a time to the target device. When the device responds—typically by powering on, changing channel, or adjusting volume—the LED will blink once to confirm success, and the code will be stored automatically. If the device does not respond after a full cycle, press Setup again to restart the search or try a different device button. The auto‑search can take up to two minutes per device, so keep the remote within 10 inches of the device and avoid moving it during the process. Once a code is accepted, you can test other functions such as mute, input selection, and power off to ensure full compatibility. If any function fails, repeat the auto‑search or switch to the direct‑code method. The remote supports up to seven devices; repeat the procedure for each additional. For devices that require a separate power code, use the Power button to toggle between the stored codes. The auto‑search method works well for newer brands where the code list may be incomplete. If the remote still cannot find a code, consult the troubleshooting section for manual code entry or firmware updates.
Troubleshooting & FAQ
Common issues: no response, partial control, battery drain. Check contacts, correct code, reset by holding Setup until LED blinks. If stuck, try direct code entry or firmware update. For power‑on problems, use Power button to cycle codes. Check the manual or contact support now!!.
5;1 Common Issues and Fixes
Issue 1: Remote does not respond to any button. Fix: Ensure batteries are inserted correctly, contacts clean, and replace with fresh NiMH or alkaline cells. If still no response, reset by holding Setup until LED blinks twice, then reprogram device codes. Issue 2: Remote controls device but volume changes are inconsistent. Fix: Re‑enter volume code or use Auto‑Search to re‑pair. Issue 3: Device turns on but stays off after a few seconds. Fix: Check device power button, ensure remote Power button pressed fully. Issue 4: Remote shows flashing LED during programming. Fix: Code mismatch; press Setup again, try different code. Issue 5: Remote battery indicator low but remote works. Fix: Replace batteries immediately to avoid shutdown. Issue 6: Remote cannot control new device added after setup. Fix: Use Auto‑Search or manually input new device code. Issue 7: Remote’s Mute button does not work. Fix: Verify mute function supported, correct code programmed. Issue 8: Remote’s LED does not flash when button pressed. Fix: Clean contacts, ensure firmware up to date. If problem persists, contact GE support for replacement unit. By following these steps, most common problems can be resolved quickly. Remember to keep the remote in a dry place and avoid exposing it to extreme temperatures, which can affect battery life and signal quality. Use manual’s guide for fixes now!!
5.2 Frequently Asked Questions
Q1: How many devices can I program? A: Up to seven devices can be stored on the remote, covering TV, DVD, cable, satellite, audio, and more.
Q2: Can I use rechargeable batteries? A: Yes, the remote accepts NiMH or Li‑ion rechargeable cells; just ensure they are fully charged.
Q3: What if my TV brand isn’t listed in the code list? A: Use the auto‑search feature or manually enter the code from the PDF manual or online database.
Q4: Why does the remote flicker or emit a weak signal? A: Signal interference or distance can cause flickering; move the remote closer to the device or remove obstacles.
Q5: Is the remote compatible with smart TVs that use Wi‑Fi or Bluetooth? A: Most smart TVs still support IR; check the TV’s manual for IR compatibility.
Q6: How do I reset the remote to factory settings? A: Press and hold the Setup button until the LED flashes twice, then release.
Q7: Can I change the button layout or add custom macros? A: No, the layout is fixed; only the device codes can be programmed.
Q8: Where can I find the full list of supported codes? A: The full code list is included in the PDF manual and also available on GE’s support website.
Q9: Does the remote support HDMI‑CEC or other advanced features? A: No, it only transmits standard IR commands.
Q10: What should I do if the remote shows no response after programming? A: Verify battery contacts, ensure the device is on, and re‑enter the code or try auto‑search.
Q11: Can I program a receiver or soundbar? A: Yes, simply select the receiver category and enter the appropriate code.
Q12: Is there a firmware update for the remote? A: Firmware updates are not available; the remote’s functionality is fixed.
Q13: What is the warranty period for the remote? A: The remote comes with a one‑year limited warranty from the date of purchase.
Q14: How do I contact GE customer support? A: Call the customer service number listed in the manual or visit the official GE support website.

Q15: Can I use the remote with a smartphone app? A: No, the remote operates solely via infrared; no smartphone integration is provided.