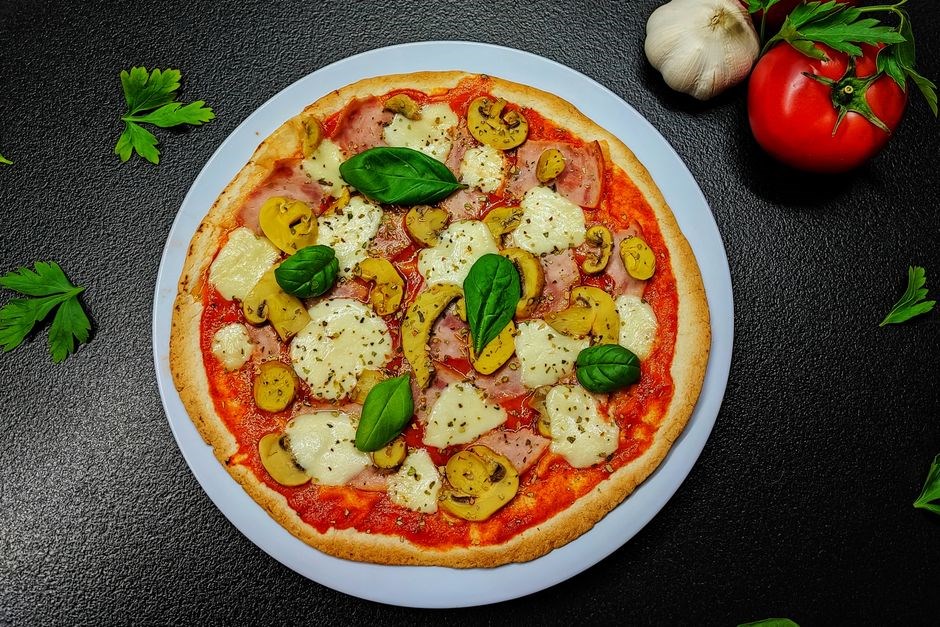
Discover how cauliflower transforms into a crispy, low‑carb pizza base. This guide walks you through prepping, seasoning, and baking, ensuring a flavorful crust that pairs perfectly with classic toppings. Ready to elevate your pizza game? Let’s begin!! Enjoy a crunchy slice that satisfies cravings now!!

Ingredients Overview
Gather a head of cauliflower, shredded or riced, plus eggs, cheese, herbs, and optional spices. For sauce, use marinara or pesto. Toppings might include pepperoni, veggies, or fresh basil. Keep quantities balanced for a light, flavorful crust.Enjoy a crunchy, wholesome slice.
Cauliflower Crust Base
Start by chopping a medium‑sized cauliflower into florets. Pulse the florets in a food processor until they resemble rice. Transfer the riced cauliflower to a clean kitchen towel or cheesecloth and squeeze out excess moisture—this step is crucial for a crisp crust. In a large bowl, combine the drained cauliflower, one beaten egg, ½ cup shredded mozzarella, ¼ cup grated Parmesan, a pinch of salt, pepper, and dried oregano. Mix until a cohesive dough forms. Line a baking sheet with parchment paper, then press the cauliflower mixture into a round, ¼‑inch thick disc, shaping it like a traditional pizza base. Let the crust rest for 10 minutes to firm up before baking. Preheat the oven to 425°F (220°C). Place the crust in the oven and bake for 12–15 minutes, or until golden brown and firm. This creates a sturdy foundation ready for sauce, cheese, and toppings. After the initial bake, let the crust cool slightly to avoid soggy toppings. The cauliflower base should feel firm yet tender, with a golden edge that hints at a crisp bite. If you prefer a thicker crust, press the cauliflower mixture into a ½‑inch thick circle and bake for an additional 5 minutes before adding sauce. This extra step ensures a sturdy foundation that holds generous toppings without collapsing. When assembling, spread a thin layer of sauce over the crust, then sprinkle shredded mozzarella evenly. Add your favorite toppings, like sliced bell peppers and olives, ensuring they are evenly distributed for balanced flavor!!! Let the pizza cool for a minute now!!
Sauce, Cheese, and Toppings
Choose a sauce that complements the mild cauliflower base. A classic marinara, seasoned with garlic, crushed red pepper, and fresh basil, adds depth. Spread a thin, even layer over the pre‑baked crust, leaving a small border for the cheese.
Cheese selection is key to texture and flavor. Mozzarella is the traditional choice, offering a gooey melt. Combine it with provolone or fontina for a deeper, slightly nutty profile; Sprinkle a modest amount of shredded cheese on top; this creates a 1:1 ratio of shredded to grated cheese to maintain even coverage without overwhelming the crust.
Toppings should be light yet flavorful. Sautéed mushrooms, caramelized onions, and roasted red peppers provide umami and color. Add thin slices of pepperoni or turkey pepperoni for a lean protein option, or keep it vegetarian with fresh spinach, artichoke hearts, and olives. For a Mediterranean twist, scatter sun‑dried tomatoes, capers, and a drizzle of pesto.
When layering, alternate between cheese and toppings to ensure even heat distribution. Avoid over‑crowding, as excess moisture can soften the cauliflower base. A final dusting of crushed red pepper flakes or a drizzle of truffle oil can elevate the dish, adding a subtle aromatic complexity that ties all elements together.
Once assembled, bake at 425°F (220°C) for 8–10 minutes, or until the cheese is bubbly and golden. Remove from the oven, let rest for a minute, then slice and serve immediately. Enjoy this low‑carb pizza tonight!!
Equipment Needed
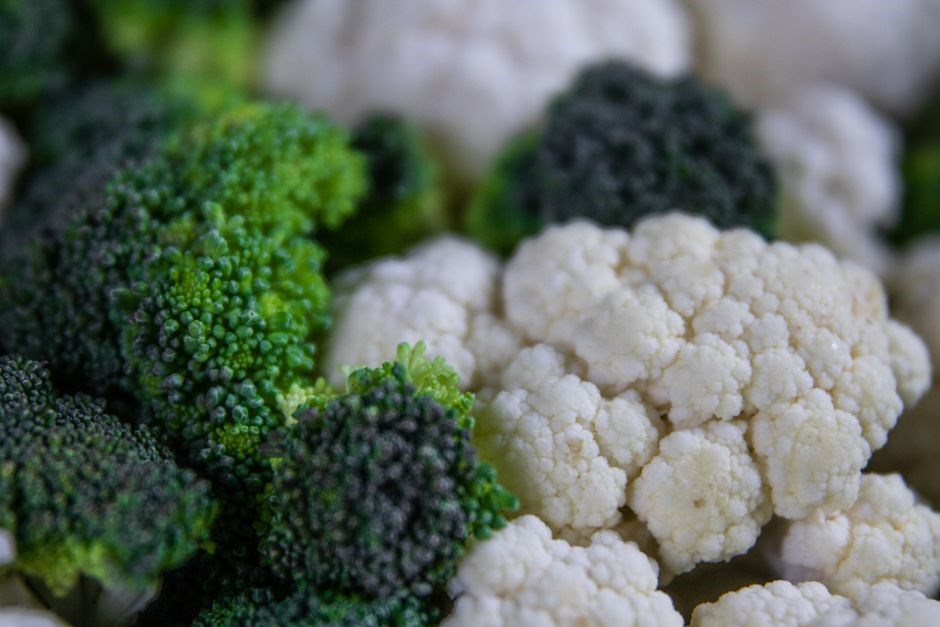
Below is a concise list of tools and appliances that will help you craft a perfect cauliflower pizza. Having the right gear ensures a smooth workflow and a crisp, evenly cooked crust.
- Food Processor or Grater: Essential for shredding the cauliflower into rice‑like consistency.
- Microwave or Steamer: Used to dehydrate the cauliflower, removing excess moisture.
- Large Mixing Bowl: For combining the cauliflower, egg, cheese, and seasonings.
- Spatula or Wooden Spoon: To mix ingredients thoroughly.
- Cheese Grater: For shredding mozzarella and other cheeses.
- Measuring Spoons and Cups: Accurate portioning of spices and liquids.
- Paper Towels or Clean Kitchen Towel: To pat the cauliflower dry.
- Non‑Stick Baking Sheet or Pizza Stone: Provides a sturdy base for baking.
- Oven: Preheated to 425°F (220°C) for the final bake.
- Pizza Cutter or Sharp Knife: For slicing the finished pizza.
- Timer: To keep track of baking times.
- Cooling Rack: Allows air circulation, preventing soggy bottoms.
With mat, parchment paper, you’re ready to make a cauliflower pizza rivaling a traditional crust. Enjoy the process and delicious results!!!!!..!!!!!!!
Preparing the Cauliflower
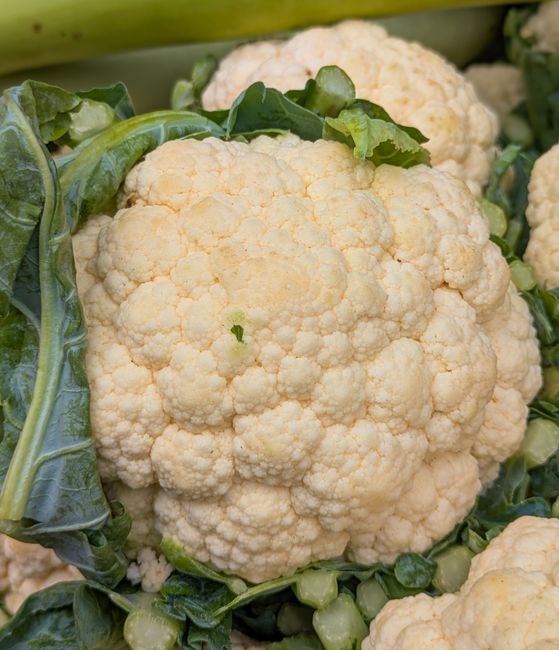
Start by chopping cauliflower into florets, then pulse in a food processor until rice‑like. Microwave or steam for 5 minutes to soften, then drain and pat dry with paper towels. This step removes excess moisture, ensuring a crisp crust. Bake at 425°F for 12 minutes.!!
Rice and Dehydrate
Begin by finely pulsing cauliflower florets in a high‑speed processor until the texture resembles rice grains. Transfer the riced cauliflower to a clean kitchen towel or cheesecloth, wrapping tightly. Squeeze out as much moisture as possible; this step is crucial for a crisp crust. Next, spread the riced mixture on a parchment‑lined baking sheet and bake at 425°F (220°C) for 20 minutes, flipping halfway through. The goal is to dehydrate the cauliflower, turning it golden and firm. Once baked, allow it to cool slightly before proceeding to the crust‑mixing stage. This dehydration process locks in flavor while preventing sogginess during the final bake, ensuring a satisfying bite every time. For extra crunch, sprinkle a thin layer of grated Parmesan before the initial bake. If you prefer a sweeter base, add a pinch of dried oregano or a dash of garlic powder during the ricing stage. Keep an eye on the color; a light golden hue indicates optimal moisture removal. After cooling, you can lightly brush the surface with olive oil to enhance shine. Store any leftover dehydrated cauliflower in an airtight container for up to three days, re‑baking at 400°F for 5 minutes before use. This method guarantees a sturdy foundation that holds sauces and toppings without becoming soggy, making your cauliflower pizza a delicious, low‑carb alternative to traditional dough. If you enjoy a flavor, toast the riced cauliflower in a skillet for a few minutes before baking. Additionally, consider adding a small amount of nutritional yeast to the mixture for a cheesy undertone without extra dairy.
Making the Crust
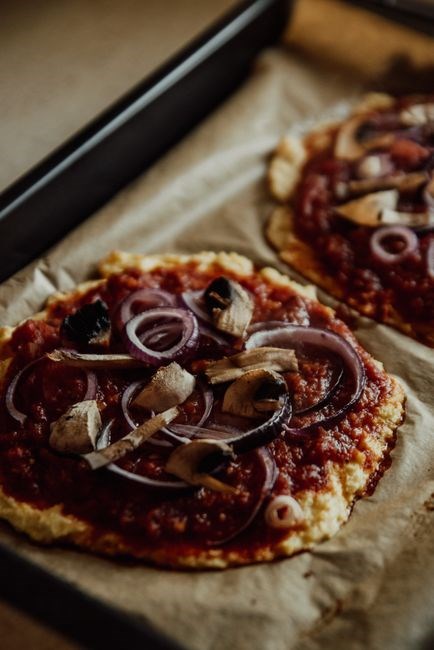
Combine the dehydrated cauliflower with egg, cheese, herbs, and a pinch of salt. Mix until a dough forms, then press onto a parchment sheet. Bake at 425°F for 12 minutes until golden. This creates a firm, flavorful base ready for toppings. Press firmly to form a thin, even base.!
Mixing Ingredients
Begin by whisking the egg in a bowl until the whites and yolks are fully blended. While the egg is still warm, fold in the grated mozzarella and a tablespoon of grated Parmesan to create a silky, cohesive mixture. Add the finely ground cauliflower, which should be well‑dehydrated to avoid excess moisture. Stir until the cauliflower is fully coated, then sprinkle in dried oregano, garlic powder, and a pinch of salt. Mix vigorously with a spatula or your hands until the dough is smooth and holds together without sticking. If the mixture feels too dry, add a splash of water or a teaspoon of olive oil; if it’s too wet, incorporate a little more cauliflower or a tablespoon of almond flour. The goal is a pliable dough that can be pressed into a thin, even crust. Once the dough is ready, transfer it onto a parchment‑lined baking sheet and use a spatula to spread it out, shaping it into a circle or rectangle as desired. Press firmly to ensure the base is compact and will not crack during baking. Let the crust rest for a few minutes before adding sauce and toppings, allowing the flavors to meld and the surface to firm up slightly. This careful mixing and shaping step is crucial for achieving a crisp, golden crust that holds the toppings in place while remaining light and airy. Finally, let the dough rest for a few minutes to allow the flavors to meld and the surface to firm up slightly, ensuring a perfectly textured base that will hold toppings without becoming soggy. This extra step gives the crust a chewiness, enhance texture fully. The result is a pizza crust that balances crunch and tenderness, providing a satisfying bite that pairs with any sauce or topping!!!
Baking the Crust
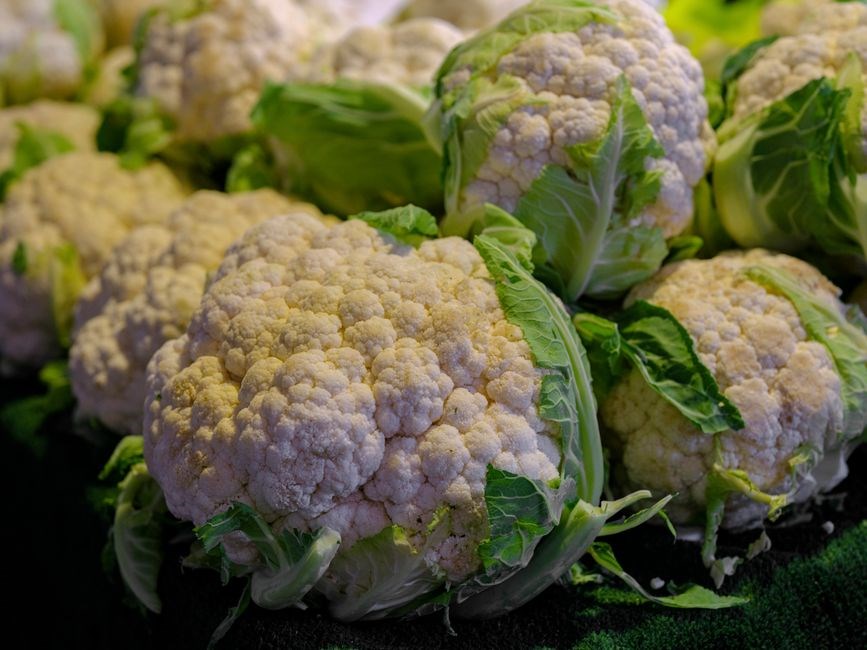
Baking the crust is where the cauliflower transforms into a golden, crunchy foundation. Preheat your oven to 425°F (220°C) and place a pizza stone or baking sheet on the middle rack. Let the oven reach full temperature before placing the crust. Carefully transfer the shaped cauliflower dough onto the preheated stone using a pizza peel or a flat spatula. Bake for 12–15 minutes, or until the edges begin to turn golden brown and the surface feels firm. For a crispier crust, flip the dough halfway through baking and bake an additional 5 minutes. Keep a close eye to prevent burning; the cauliflower can brown quickly. Once baked, remove the crust and let it cool for a minute before adding sauce, cheese, and toppings. This brief cooling period helps the crust maintain its structure and prevents sogginess when the toppings are added. The result is a light, airy base that holds flavors without becoming soggy, ready for the next steps in your cauliflower pizza creation. If you prefer a thicker crust, press the dough to about 1/4 inch thickness; for a thinner crust, press to 1/8 inch. After the initial bake, you can brush the crust with a light drizzle of olive oil to enhance browning. Some chefs recommend sprinkling a pinch of sea salt on top before baking to elevate flavor. The baking time may vary depending on your oven and the size of the crust, so adjust accordingly. A well‑baked crust will have a slightly crisp exterior and a tender interior, providing the perfect canvas for your favorite toppings. Enjoy a slice wholesome pizza tonight.
Adding Sauce and Cheese
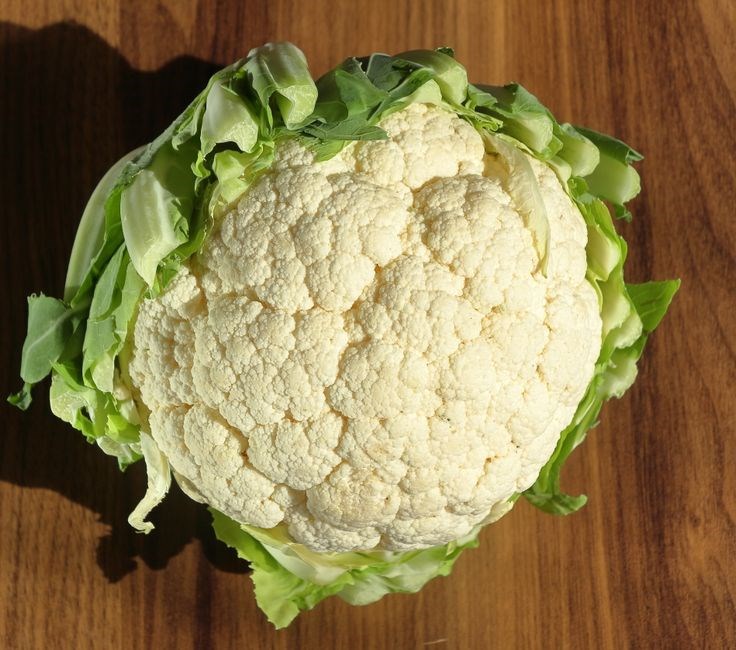
Spread a thin, even layer of your chosen sauce over the baked cauliflower crust, leaving a small border for the edges. Tomato sauce works best, but pesto or white garlic sauce can add a different twist. Use a spoon or a small ladle to distribute the sauce, ensuring it covers the surface without pooling. Next, sprinkle a generous amount of shredded cheese—mozzarella is classic, but a blend of provolone, cheddar, or even a vegan cheese can elevate the flavor. Aim for a cheese layer that covers the sauce but isn’t so thick that it clogs the crust. A light dusting of grated Parmesan or nutritional yeast can add a savory finish. If you love a bit of heat, scatter a few red pepper flakes or a dash of hot sauce over the cheese. Once the cheese is in place, slide the pizza back into the oven for a final bake. Keep the oven at 425°F (220°C) and bake for an additional 7–10 minutes, or until the cheese is bubbly, slightly browned, and the edges of the crust are crisp. Watch closely; the cheese can brown quickly. When done, remove the pizza and let it rest for a minute or two. This resting period allows the cheese to set slightly and prevents the toppings from sliding off. Slice with a pizza cutter or a sharp knife, serve hot, and enjoy the fresh, cauliflower base that delivers a satisfying crunch and a burst of flavor with every bite. Remember to let the pizza rest for a few minutes before slicing; this helps the cheese set and keeps the crust from becoming soggy. Delicious and nutritious! And a burst of flavor!
Adding Toppings
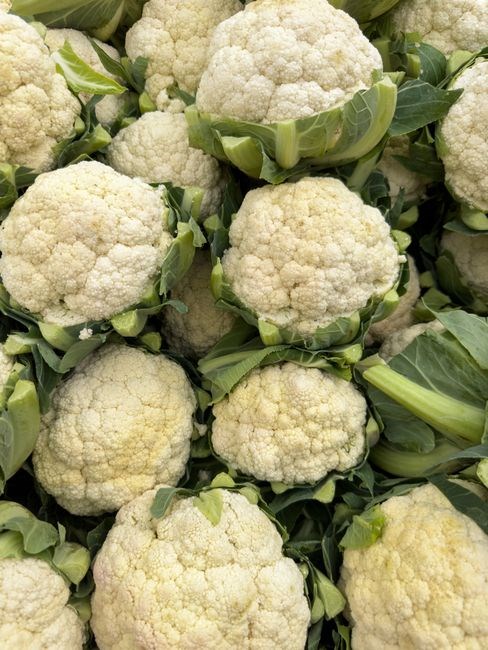
Consider a drizzle of balsamic glaze or a sprinkle of lemon zest for brightness. A handful of toasted pine nuts or chopped walnuts adds crunch. For smokiness, scatter a few drops of smoked sea salt or a pinch of chipotle powder. Sweet contrast comes from thinly sliced strawberries or pineapple chunks. mint or cilantro gives a refreshing finish. Layer thinly sliced prosciutto or pancetta before the final bake for heartiness. A dusting of za’atar or sumac spices gives a Middle Eastern flair. A few drops of truffle oil or grated pecorino elevates the pizza to gourmet status. Pat dry wet toppings to keep the crust crisp.
Enjoy the unforgettable flavor now.
Final Baking and Serving
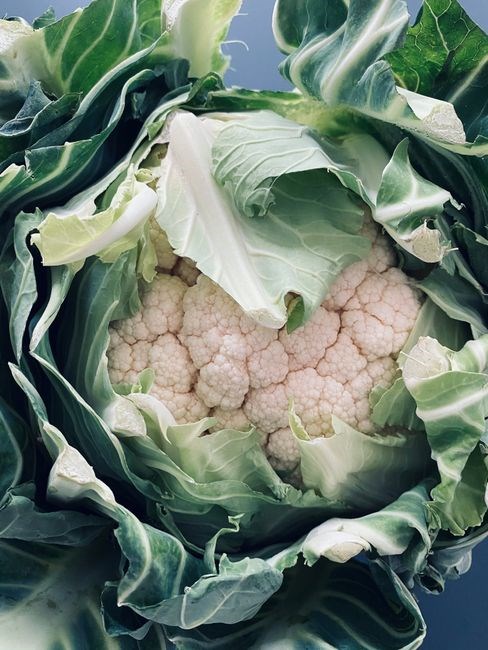
Slide the pizza into the preheated oven for 8–10 minutes, until the crust is golden and cheese bubbly. Remove, let cool for a minute, then slice. Serve hot with a sprinkle of fresh basil or a dash of red pepper flakes for extra zing. Enjoy your low‑carb masterpiece! Add a squeeze of lemon for zest.!!!
Checking Doneness
Observe the crust’s color: a golden‑brown edge signals readiness. The cheese should be fully melted, with a slight bubbling and a hint of caramelization. Gently lift a corner with a spatula; the base should feel firm, not doughy. If the center still looks pale, return it for an extra minute or two. For extra crispness, finish under the broiler for 30‑60 seconds, watching closely to avoid burning. Once done, let the pizza rest for a minute to set the cheese, then slice and serve immediately for the best texture and flavor.
For a precise gauge, insert a digital thermometer into the center; a temperature of 190°F (88°C) indicates a fully cooked crust. If you prefer a chewier bite, reduce the bake time slightly; for a crunchier base, extend it by a couple of minutes. Always keep an eye on the edges, as they brown faster than the center. Once the pizza meets your desired crispness, remove it from the oven and let it cool on a rack to preserve the crust’s integrity. Finally, garnish with fresh herbs or a drizzle of olive oil before serving to enhance aroma and flavor.
After baking, allow the pizza to rest for 2–3 minutes; this helps the cheese set and the crust firm up. Slice with a pizza cutter or a sharp knife, and serve hot. Pair it with a light salad or a drizzle of balsamic reduction for a balanced meal. Remember, the key to a perfect cauliflower pizza is patience and attention to detail. Savor the crunch! Yum.

Tips, Variations, and Storage
Experiment with herbs—rosemary, oregano, or basil—sprinkled before baking for aromatic depth. Swap mozzarella for goat cheese or a vegan alternative to reduce dairy. Add a drizzle of pesto or sun‑dried tomato spread for a Mediterranean twist. For a smoky flavor, top with thin slices of smoked salmon or pepperoni, then bake. If you prefer a sweeter profile, scatter pineapple chunks or caramelized onions over the cheese.
To keep the crust crisp after refrigeration, reheat in a preheated oven at 375°F (190°C) for 5–7 minutes, or use a skillet on medium heat for a few minutes on each side. Store leftovers in an airtight container; they stay fresh for up to 3 days. When reheating, add a splash of water to the pan to create steam, preventing the cheese from drying out. For a quick snack, slice the pizza and freeze individual pieces; thaw in the microwave for 30 seconds, then finish in the oven for crispness.
Always let the pizza cool completely before cutting to avoid mushy edges. If you’re hosting, consider making a large batch and serving slices with a side of fresh salad or a yogurt‑based dip. Remember, the key to a great cauliflower pizza is balancing moisture, flavor, and texture. Enjoy experimenting and sharing your creations!
Pair the pizza with vinaigrette or a tangy Greek yogurt sauce for zest. For a low‑fat option, use part‑skim mozzarella or a plant‑based cheese. Nutritionally, cauliflower adds fiber and vitamins C and K, making this pizza a guilt‑free indulgence!!!



About the author